The stress created by the past few months is probably starting to take its toll on your skin. Indoor air from heaters and air conditioners can leave you dry and dehydrated, increasing the depth of any fine lines. The constant use of protective wear is irritating to the skin, decreasing oxygen to its surface, and promoting bacterial overgrowth, responsible for that dreaded “maskne.” All this, paired with the emotional stress of quarantine, and you have a recipe for skin disaster.
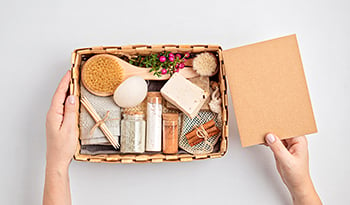
Lucky for you, although spas may still be closed, and most of us are still sheltering at home, it doesn’t mean you can’t get a facial. This tutorial will show you step-by-step how easy it is to give yourself a facial at home. While it might not include extractions, following the tips below, once a month or even once a week, will increase hydration, minimize fine lines, decrease puffiness, and promote the overall health of your skin.
Always Start With A Double Cleanse
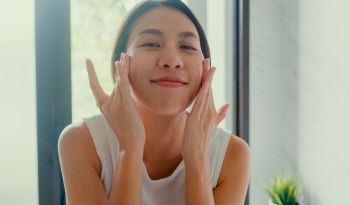
Often overlooked or rushed through, cleansing is the most important part of your entire skincare routine. Slow it down and spend some time cleaning your skin. It should take you just as long to remove your makeup as it did to apply it. It doesn’t matter what expensive serums or creams you are using—if your skin isn’t clean, those products won’t be as effective. This is why almost every facial includes two cleanses, one to remove anything on the surface and a second to actually cleanse your skin. This two-step cleaning process is called a double cleanse and is an easy way to quickly transform your skin.
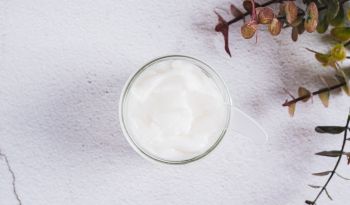
For the first cleanse, use an oil-based cleanser, either a creamy milk cleanser or an actual oil blend. Oil-based cleansers are incredibly efficient at emulsifying and lifting away the gunk on the surface of your skin, like dirt, pollution, dead skin, sunscreen, and makeup. Spend a few minutes working it in, then rinse with water, and remove with a warm washcloth. Feel free to hold the washcloth to your face for a moment, taking a few deep breaths, allowing the heat to soften tension, before wiping off the oil.
For your second cleanse, use a water-based cleanser, also known as a gel cleanser, to remove any residual oil and deeply cleanse your skin. The first cleanser has done a lot of the hard work, allowing your second cleanser the easy task of purifying your skin without having to battle the normal build-up that accumulates on the surface. While this is a wonderful way to start an at-home facial, try and get in the habit of performing a double cleanse every evening. Your skin will thank you.
Use A Hydrating Toner
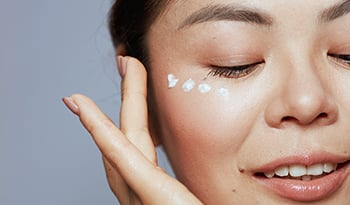
This quick but incredibly effective step is an easy way to improve your skin’s hydration and increase the absorption of other products. Toners, mists, sprays, and essences all work to balance the skin’s pH, while adding vitamins, nutrients, and hydration to the skin. Great for all skin types, toners come with active ingredients that can help treat your specific concerns, from anti-aging to anti-breakout.
Best applied after your cleanser, toners can be used before or after any step in your skincare routine. To use, either mist directly onto your skin or, my preferred method, spray into your hands then press the liquid to your face. Want more hydration? Apply multiple layers.
A popular K-Beauty trend is “The 7 Skin Method.” This simple but incredibly effective treatment involves layering your toner, mist, or essence up to seven times. Thirsty skin often soaks up a single application quickly and without much result. By applying multiple layers, adequate levels of hydration can be achieved. You’ll be amazed at how plump and dewy your skin will look after only a few applications.
Exfoliate Like A Pro
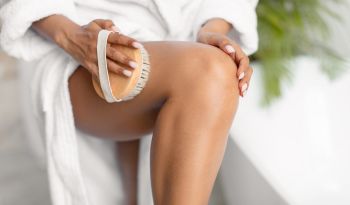
Now that your skin is clean and hydrated, it’s time for exfoliation. A weekly deep exfoliation is a great way to make sure your skin is at its best. When dead skin cells accumulate and harden on the surface of your face, they prevent products from absorbing properly. This buildup can give the skin a dull look and can lead to clogged pores and dry, flaky skin.
There are lots of different types of exfoliants out there, each removing this dead skin in a different way. Physical exfoliants, like facial scrubs, slough off dead skin through the physical act of scrubbing. Enzymes, from pumpkin or fruit acids, gently dissolve build-up on the surface without penetrating the skin itself. Alpha Hydroxy Acids (also known as AHAs), like lactic and glycolic acid, penetrate deeper into the skin and are able to not just exfoliate but increase hydration and even stimulate new collagen formation, making it a wonderful multi-tasking treatment.
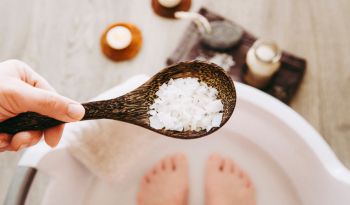
To create a spa-like experience at home, hop in the shower after applying your exfoliator, allowing the shower’s steam to soften dead skin, increasing the treatment’s effects. This is a great way to replicate the steam used in a professional facial.
Don’t forget your lips! Make sure to exfoliate your lips as well, since dead skin can also accumulate here. Sugar-based scrubs make for a fantastic lip treatment, as they both exfoliate and hydrate the skin.
After your exfoliant is removed, remember to tone your skin again. This is something you’ll want to repeat each time you add water to your face. Since tap water disrupts your skin’s pH, applying toner restores equilibrium, allowing the next product you apply to be more effective.
Use A Treatment Mask
Treatment masks are an effective way to treat your skin’s specific needs. Whether it’s to promote anti-aging, detoxify pollution, clarify breakouts, calm sensitivity, or simply hydrate parched skin, using a face mask is a great way to tackle skin concerns. In professional facials, a treatment mask is applied after exfoliation and extractions. Some facials even include multiple masks.
As long as your mask is applied to clean skin, there really isn’t a wrong time to use a mask. Always follow product directions, but most moisturizing and hydrating masks can be left on for up to 30 minutes. Creamy moisture masks can even be left on overnight, giving you plump, glowing skin the following day. Clay-based masks can be used in multiple ways as well. For a more purifying and tightening effect, allow the clay mask to completely dry on the skin. For a more calming and soothing result, apply the clay mask thick and remove before it fully dries.
Again, after you remove your mask, tone your skin!
Make Your Own Mask
For all the DIYers out there, why not make your own mask? One of my favorite face masks to make is an incredibly simple greens mask, using a greens superfood powder you might already have at home.
Simply mix equal parts of greens powder and honey (around one tablespoon of each), then add a small amount of liquid (purified water, tea, or your favorite facial mist) till you have a spreadable mixture. If you accidentally add too much liquid and find your mask is too runny, simply add more green powder. Leave on your skin for up to 30 mins. When you're ready to remove the mask, simply rinse with water. When wet, the greens can double as a facial scrub, giving a gentle exfoliation as it comes off.
Loaded with antioxidants, nutrients, and enzymes, greens powders make a fantastic treatment for your skin. They can be surprisingly stimulating, promoting circulation and blood flow to the surface, creating a slight flush. Don’t be alarmed, this rosy glow means your skin is getting the oxygen and nutrients it needs to keep it staying healthy.
Adding honey to your mask has fantastic benefits, too, no matter what your skin type. Raw honey contains amino acids, minerals, enzymes, and vitamins. It soothes irritation, is packed full of anti-aging antioxidants, its natural healing antibacterial properties make it great for addressing acne, and it boosts your complexion, leaving you with glowing skin.
Take Your Mask To The Next Level With A Facial Tool
Using a facial tool, such as a facial roller, is a great way to increase the benefits of your mask by pushing ingredients deeper into the skin.
These multifunctional tools can be used in a few different ways to achieve different results:
- For de-puffing and soothing, gently roll from the center of your face out towards your hairline, starting at your neck and working up towards the forehead, then draining down the outside of the face toward the collarbone at the end.
- To minimize wrinkles, use your roller as an eraser, rolling back and forth over any lines you’d like to address.
- To lift and sculpt the face, roll from the center of the face at a slight upward angle. Or even straight up from the jawline to the cheekbone.
- For an instant lift, try an ice roller. The cold helps calm inflammation while firming the skin.
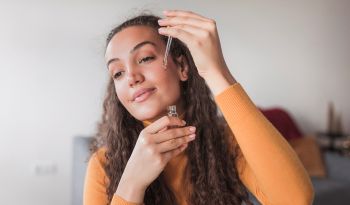
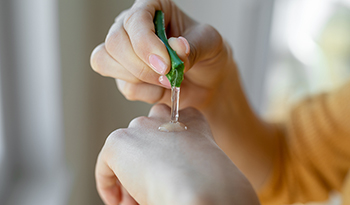
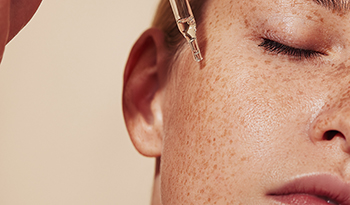
Apply A Targeted Serum
At this point, you can start to apply your regular skincare. If you have a specific skin concern you’d like to address, use a facial serum. Serums are targeted treatments with concentrated active ingredients. Look for ingredients like anti-aging vitamin C to brighten and protect the skin, hyaluronic acid to add hydration, or retinol to promote cell turnover. Salicylic acid and niacinamide are excellent at treating breakouts, and antioxidants like resveratrol fight damage caused by pollution and other environmental stressors.
Massage With A Facial Oil
One of everyone’s favorite parts of getting a facial is the massage! Facial massage is incredibly relaxing, but it also has amazing benefits for the skin. To loosen tight muscles, lift facial features, minimize fine lines, and boost circulation, try performing a facial massage at home.
Feel free to use your hands or a tool, like a gua sha stone or facial roller. Apply a few drops of facial oil to prevent friction on the surface and work hands or tools in an upward and outward motion, lifting the face.
Finishing Products
Lastly, finish your at-home facial with the rest of your regular skincare routine, including eye serum or eye cream, and moisturizer. Make sure to apply all of your products, in an upward motion, from the chest to the forehead.
Don’t forget your lips! The skin on your lips is the only skin on your face that doesn’t have sebaceous glands, meaning your lips have no way of moisturizing themselves. Make sure you always finish your at-home facial or skincare routine with a moisturizing lip treatment.
DISCLAIMER:
These statements have not been approved by the Food and Drug Administration. These products are not intended to diagnose, treat, cure, or prevent disease.


 Table of Contents